
Introduction
As a post-95s generation person who started cooking from scratch, I deeply understand the struggles of learning in the kitchen. I remember when I first started living alone, feeling completely lost facing all the ingredients. Food either went bad or got burnt - it was like exploring life through wasting money and ingredients! However, after years of practice and experimentation, I finally evolved from someone who couldn't even fry an egg without burning it to someone who can confidently control the kitchen. Today, let me share with you all the pitfalls I've encountered and the experience I've gained over these years.
Ingredient Storage
To be honest, when I first started living independently, I was really tormented by the problem of keeping ingredients fresh. I used to watch helplessly as fresh ingredients spoiled, and my heart would bleed every time I had to throw them away. After countless failures, I finally figured out an effective preservation method.
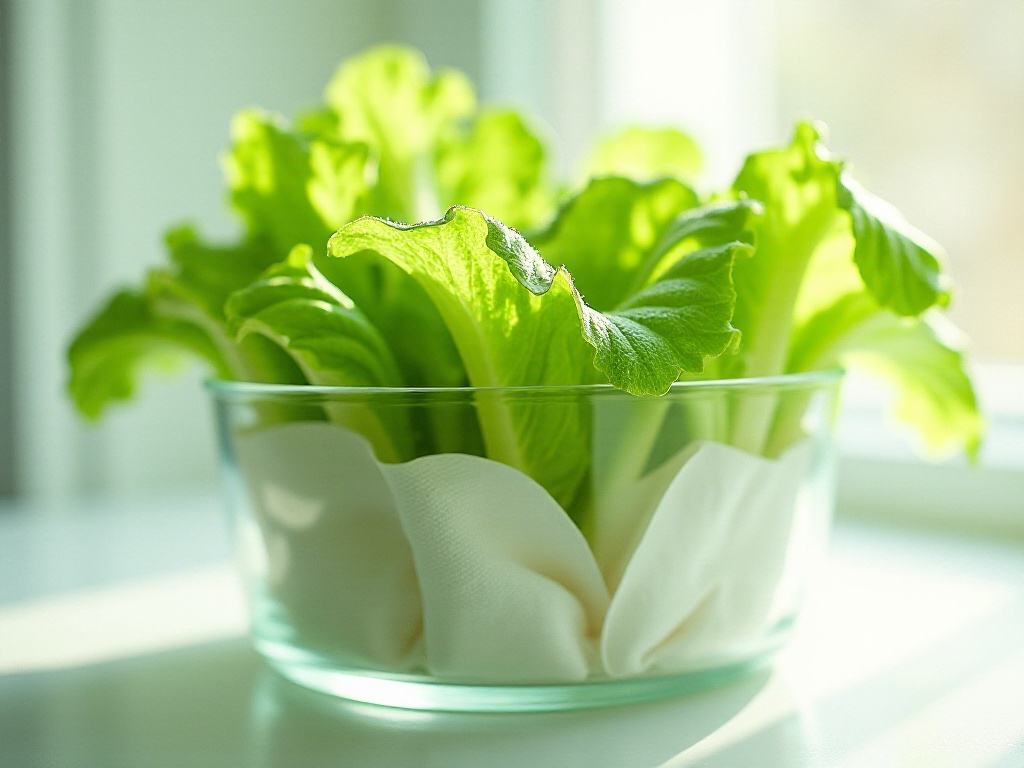
Let's first talk about the troublesome issue of storing lettuce. I found that many young people, like me, would see their lettuce turn yellow and soft after just two days, ultimately having to throw it away. Actually, storing lettuce is quite simple - the key is controlling moisture. I now place paper towels at the bottom of storage containers to absorb excess moisture. Also, before putting the lettuce in, it's best to wipe the leaves dry with paper towels. If you notice the leaves are already a bit wilted, don't rush to throw them away - soak the lettuce in ice water for ten minutes, and it will miraculously restore its crisp tenderness.
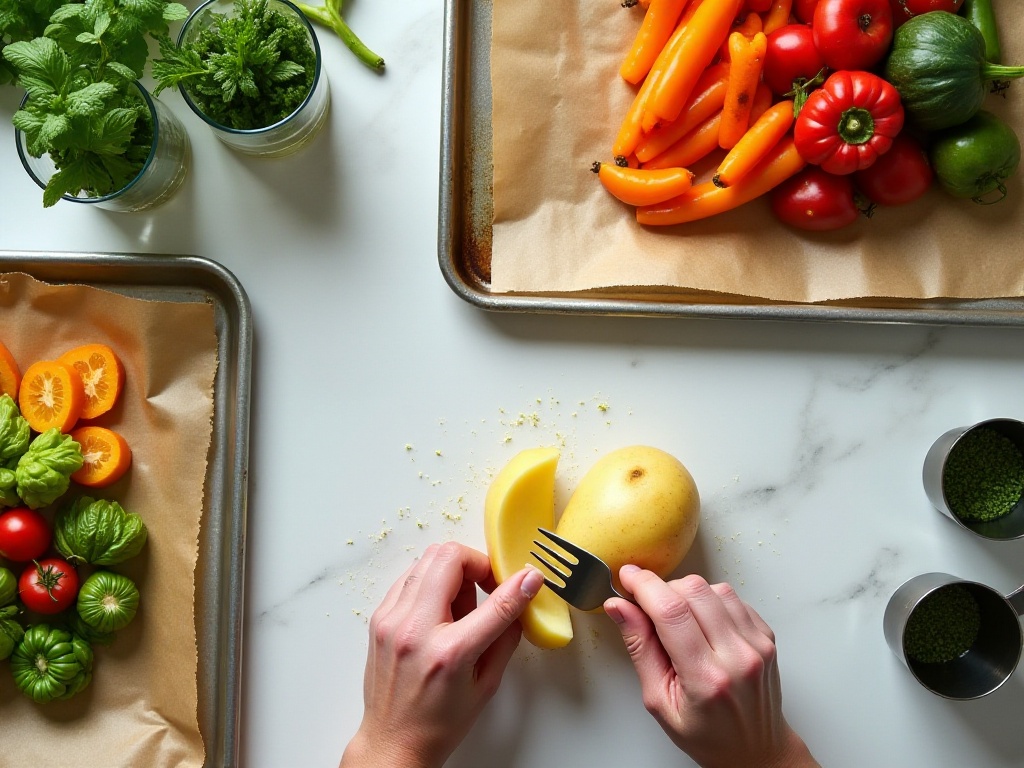
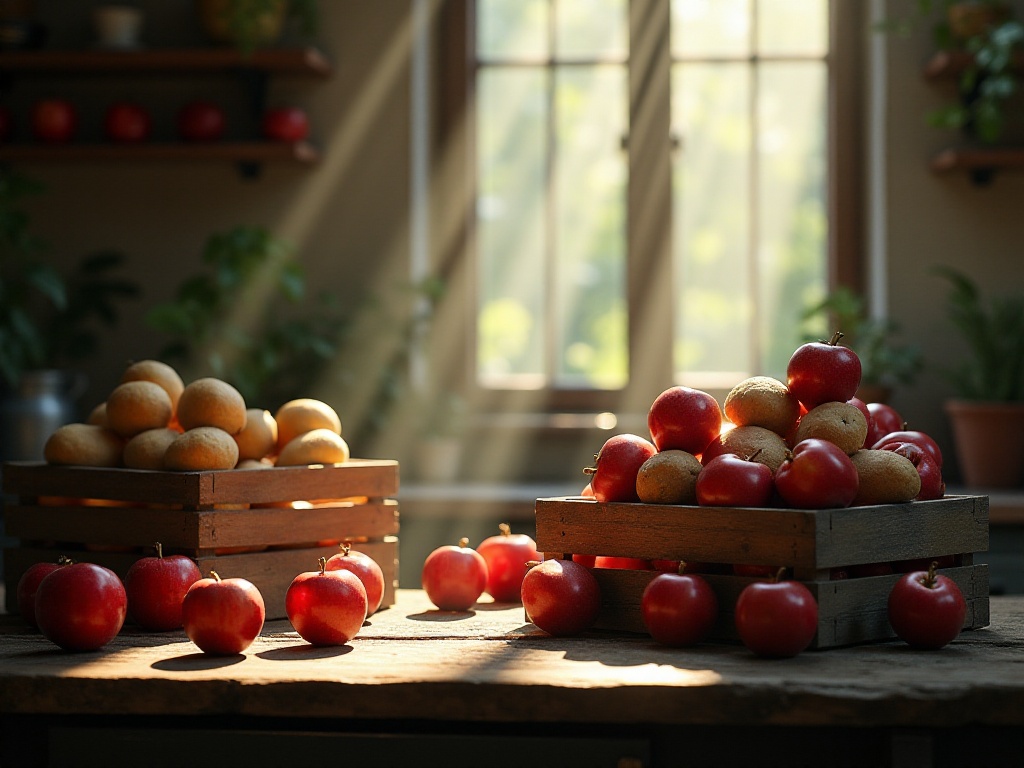
Storing potatoes is also a technical matter. At first, I used to buy many potatoes at once, thinking they would last a long time, but they would all sprout long shoots before long. Later, I discovered that potatoes fear light and humid environments the most. Now I keep potatoes in a cool, dry place, and deliberately store them with some apples. Apples release ethylene gas, which can inhibit potato sprouting. Using this method, potatoes can last for a month without sprouting and still maintain good texture.
Carrot storage also has its tricks. Many people, like me, used to just throw carrots into the refrigerator, only to find them soft and wilted after a short time. Actually, carrots fear dehydration the most, so now I cut off a small section of the carrot's root end and wrap them in plastic wrap before putting them in the refrigerator. Carrots treated this way can easily last for more than two weeks.
When it comes to fruit storage, I have a particularly useful tip. For example, many people might have experienced bananas turning completely black after just a few days. Actually, just wrap the banana stems in plastic wrap, and it will greatly extend their shelf life. Also, bananas should be stored separately - this way, even if one ripens, it won't affect the others.
Herb Storage
When I first started working with fresh herbs, I was really clueless. The herbs I bought would always wilt quickly, barely lasting a few uses. After multiple attempts, I finally found the most suitable preservation method.
First, for woody herbs like rosemary and thyme. Their preservation is actually quite simple - trim the stems, place them in a glass with a little water, then loosely cover the entire glass with a plastic bag. This maintains moisture while letting the herbs breathe. Using this method, herbs stored in the refrigerator can last for two weeks without spoiling.
Tender-leaf herbs like basil and mint require a bit more effort. I wash the leaves clean, then gently pat them dry with paper towels. Then I roll them in slightly dampened paper towels and place them in a storage bag. This maintains adequate moisture without causing rot due to excess dampness.
If you find your herbs have started to wilt, don't rush to throw them away. Cut off a small section of the stems and soak them in ice water for ten minutes - they can often be revived. I've also found that adding a bit of white vinegar to the water works even better.
For unused herbs, I chop them up, place them in ice cube trays with a bit of olive oil, then freeze them. This way, I always have fresh herbs available, and the olive oil helps preserve their aroma.
Ingredient Preparation
In terms of ingredient preparation, I've also encountered many pitfalls. For example, peeling garlic used to be particularly troublesome, and my hands would smell of garlic. Later, I discovered that microwaving for 20-30 seconds works really well - the garlic skins become very loose and can be easily pinched off. For whole heads of garlic, I first break them into cloves, then place them in a large bowl, cover with another bowl, and shake vigorously - the skins will come off automatically.
When processing ginger, I use the back of a spoon to scrape it, which not only produces fine ginger paste but also avoids fibers getting tangled in the knife. If slicing, remember to cut along the grain - this way, the ginger slices will be more uniform and less likely to break.
Bell peppers also require technique. Many people might have experienced seeds flying everywhere when cutting bell peppers. Now I first cut the pepper in half, then gently pull out the seeds and membrane together with my fingers - this is not only clean but also maintains the pepper's integrity.
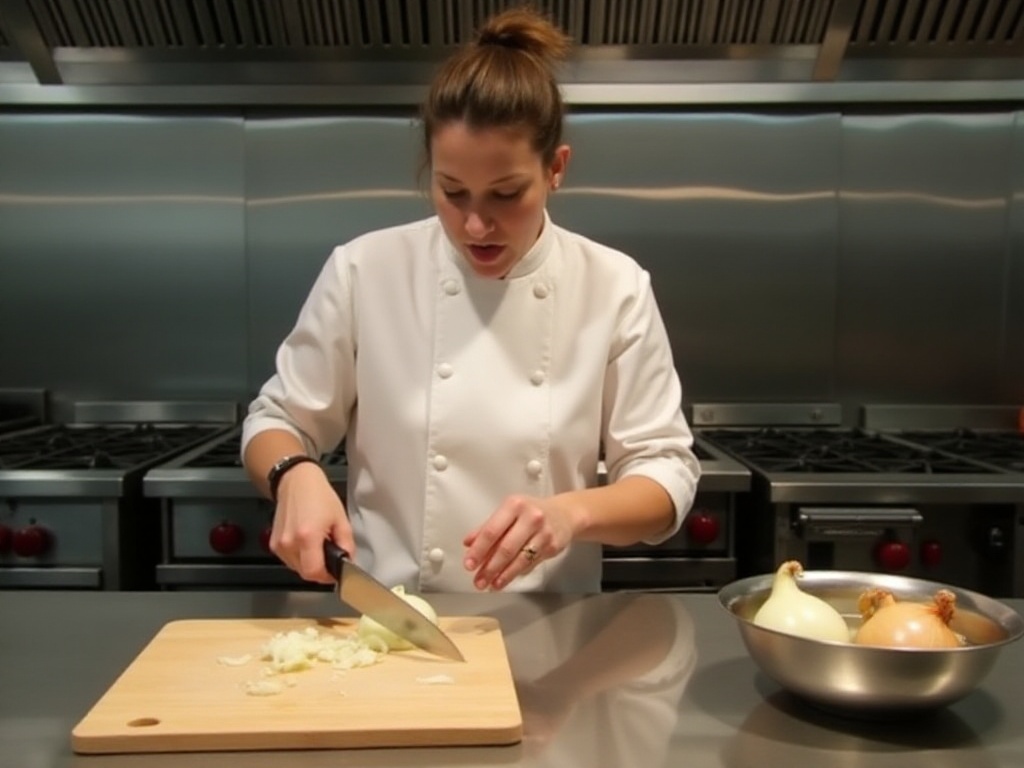
Onion preparation might be the most troublesome. Cutting onions brings tears streaming down your face - it's really torturous. Later I discovered that if you refrigerate the onion for half an hour before cutting, it won't cause as many tears. When cutting, also note that starting from the root end will release fewer volatile compounds.
Corn preparation also has its tricks. I used to find removing corn silk particularly troublesome, but later discovered that microwaving for 30 seconds makes both the silk and husk very easy to remove. If you need to remove the kernels, use a large bowl with a small bowl turned upside down in the middle - this way, the cut kernels will automatically fall into the large bowl without bouncing everywhere.
Tool Usage
Tool usage techniques are also something I've constantly explored and summarized over these years. For example, a cooling rack isn't just for cooling food - it can also be used as a cutting aid. When cutting ingredients on a cooling rack, they won't move around, and the cut debris can fall straight through, keeping the countertop clean.
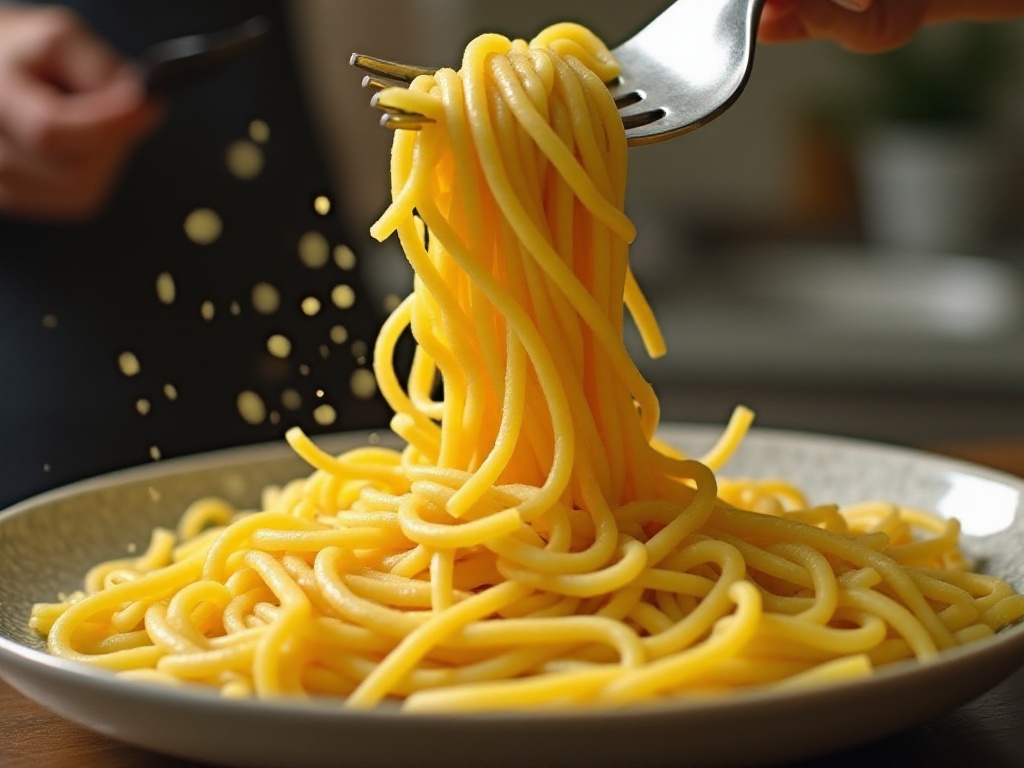
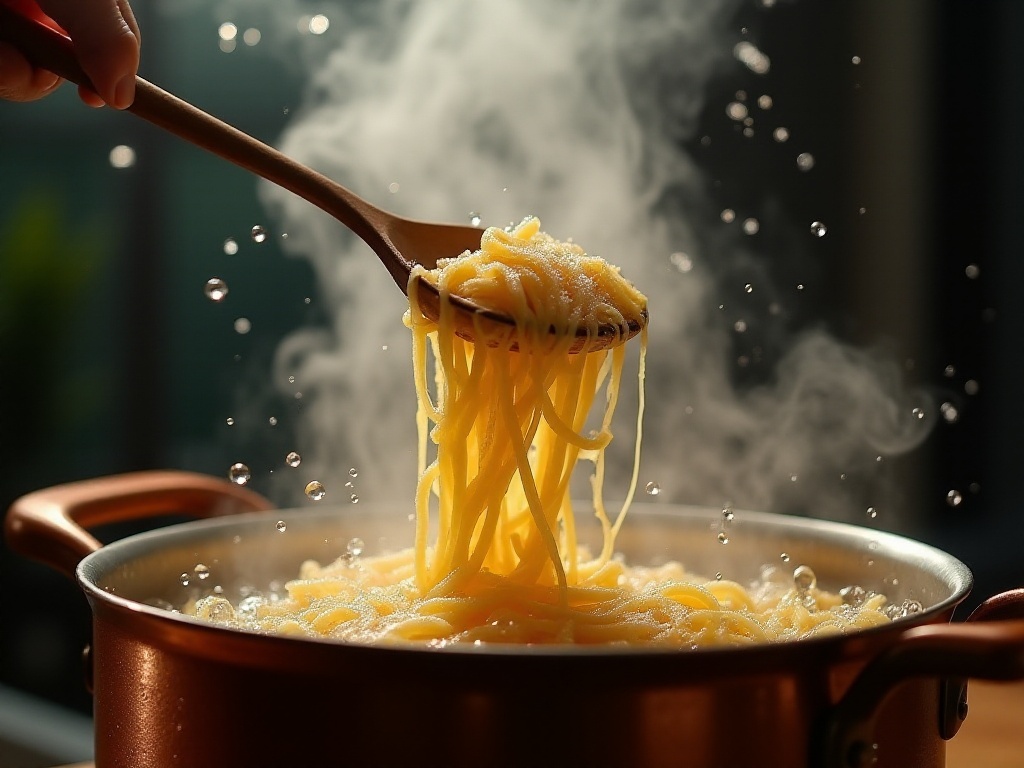
I particularly like the technique of using a wooden spoon to prevent pot boilovers. Just place a wooden spoon across the pot, and it effectively prevents liquid from boiling over. This is because the wooden spoon breaks up rising bubbles, preventing the water from boiling too vigorously. This trick is especially useful when boiling pasta or making soup.
Speaking of kitchen tools, I think the most worthwhile investment is a good cutting board. I now use a wooden cutting board - although it's more expensive than plastic ones, it lasts longer and is less likely to harbor bacteria. Remember to place a damp towel under the cutting board when using it - this prevents sliding and makes cutting safer.
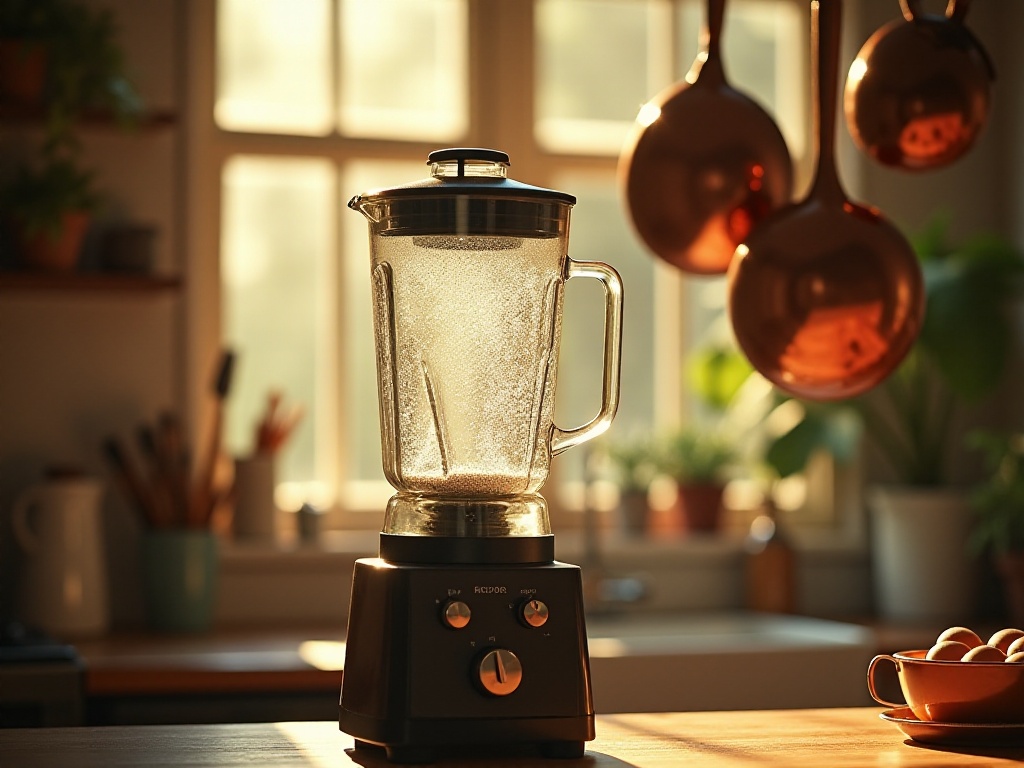
Measuring cups are also very important tools. Many people might think cooking doesn't need to be so precise, but many failures are actually due to incorrect proportions of seasonings. I now use measuring cups for precise measurements, especially when trying new recipes.
The choice of spatula is also particular. I recommend using wooden or silicone spatulas because they won't scratch the coating of cookware. Also, these materials don't conduct heat, making them safer to use.
Basic Skills
When it comes to culinary basics, knife skills are most important. I suggest beginners must start practicing from the most basic cutting techniques. For example, julienning might be crooked at first, but with practice, you'll gradually master the technique. Remember to secure the ingredients when cutting, and curl your fingers on your other hand to avoid cuts.
Knife maintenance is also particularly important. I sharpen my knives with a whetstone every week because sharp knives not only improve cutting efficiency but also ensure safety. After washing knives, dry them immediately to prevent rust. When storing, it's best to use a knife block or sheath - this protects both the knives and prevents safety hazards.
Mise en place is also a very important part of cooking. I now prepare all ingredients before cooking - cutting what needs to be cut, washing what needs to be washed - this way, I won't be rushed during the cooking process. This also ensures proper heat control, preventing some ingredients from overcooking due to lengthy preparation time.
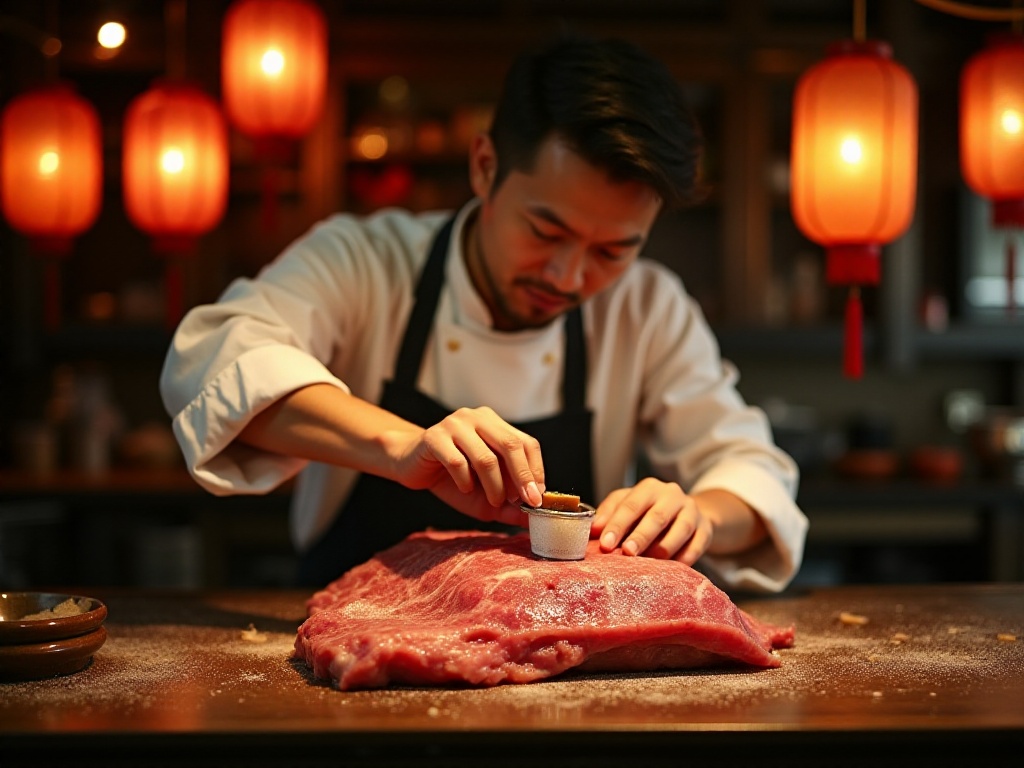
Seasoning is also a profound art. My suggestion is to start with basic seasonings like salt and pepper. Once you've mastered basic flavor combinations, gradually try combining other seasonings. Remember one principle when seasoning: you can always add more, but you can't take it away. So it's better to start with less, taste, and then decide whether to add more.
Conclusion
These are the experiences I've accumulated through years of trial and error in the kitchen. Honestly, cooking isn't that difficult - the key is having patience and being willing to spend time exploring and learning. I hope my sharing can help those of you who are also exploring the culinary path. Remember, every excellent chef started with crooked carrot cubes - the important thing is to persist, believing that one day you'll become a kitchen master!
Related articles